If you’re like me, and you have space for an in home photo studio (and an amazing family who will graciously step out so you can get to work), then you’ve probably brainstormed several set ups for a studio.
My in home photo studio is more of a “pop up” in that I transform my wide, high ceiling, huge window, white walled living room into a space for my clients to feel like they can comfortably move around to help their child smile, view print and frame samples, and, if their child is revealing they are a professional model, take a seat and relax.
Here’s an overview of what has worked for me:
1. Using Seamless Paper for your Backdrop
When I first began my in home photo studio, seamless paper was my go to backdrop. This is mainly because it’s all I’ve known working in several photo studios in my wardrobe styling days. I appreciated that it would cover my dark floors and help bounce some light onto my subject’s face.
Then the ripping started. During the shoots. It was a distraction. I wanted to reevaluate my situation.
One other thing to mention is that it can be bulky to store and set up. Once you run out of paper, you have to order more. Again and again, ordering more. At $30 a roll for the smaller size, I knew I could find something more cost effective.
I saw another portrait photographer who brought a white reflector as their backdrop on on-location shoots, and I thought, “hmm, that’s super portable!” Quite honestly, after trying this out myself, I was impressed that my 40” reflector I’ve had for over 10 years and collecting dust did the exact same job as the seamless paper. It didn’t rip or have a loud sound. However, when I tested it in my home photo studio, I was photographing two toddlers. One sat in front of the large reflector while the other one stood.
I would stare at my white walls and think, “why am I using any backdrop other than my creamy white walls?” I looked and looked for floor drop options, i.e. something white I could put on the ground that wouldn’t just look like carpet, but imitate hardwood, and then IT DAWNED ON ME. I had leftover click and lock LVP (link) and paint.
3. Using White Wall as Background & Creating a Portable Floordrop
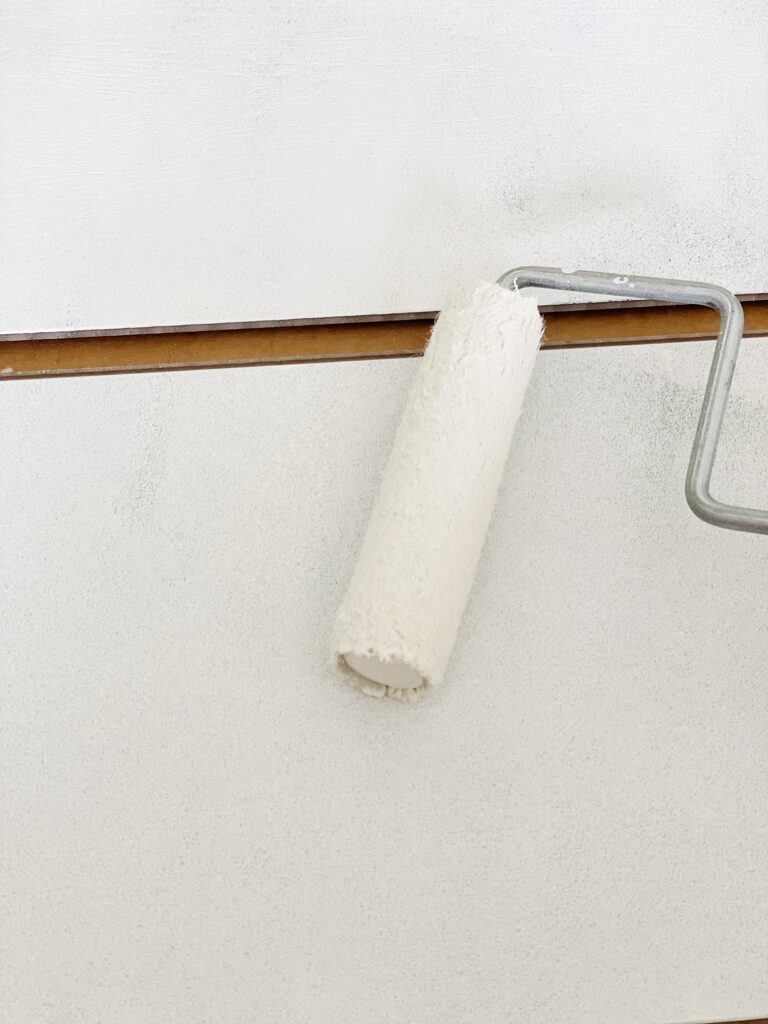
I got to work on painting the 5 LVP click and lock pieces that remained from our kitchen renovation a year ago. Amazingly enough, those 5 pieces measured exactly the amount of floor space I was attempting to cover (40” D x 4’ W). I painted the pieces the same color as our wall, Sherwin Williams Greek Villa, and I applied two coats with a paint roller. I then coated the LVP with polyurethane from my local Ace Hardware to prevent scratches.
After my first shoot on these floor boards, the take down was SO EASY. I just stored each individual piece of LVP standing up in my storage closet. The pieces aren’t heavy, and they take up less room than a roll of seamless paper with a backdrop stand.
Shoot Photos
This was a win, and I’m so happy I journeyed through multiple avenues to feel confident in this decision.
BONUS IDEA
I only run business out of my in home photo studio, and, therefore, currently don’t travel for heirloom sessions. If I were to in the future, I would look into this option from B&H. I’m all about portability and ease!
I hope this helps you in your venture of having your own in home photo studio, however that may look!
Are you located in the Atlanta area and are interested in Heirloom Photos for your children? I’d love to hear from you!
In Home Photo Studio Backdrop Tests
Seamless
Great color, tears easily
Reflector
Portable, simple
Painted LVP
Portable, gives a studio feel


